I started this project before the Corona Virus lockdown so it was the first thing I finished once I was confined to the house. I’d been looking for a while for a hutch for our dining room and there are so many styles out there that it took me a while to decide what I was looking for and then to find something within my budget which was under $100. I’ve seen lots of beautiful new designs out there and I could have purchased something on offer up but I wanted a project and it needed to be something with a curved top to break up all of the straight lines on that wall.


When I first saw this hutch at a second hand store I was not sold. I knew that I would be fixing it up but it wasn’t as old as I wanted it to be. It had a veneer that I was worried wouldn’t take paint well, no legs and glass shelves. BUT it was $65 and then HALF OFF! It had curves and good hardware already so I wrestled into the back of the car with an associate and brought it home….

HERE IS THE BEFORE…

AND AFTER PAINTING THE INSIDE WHITE
I picked up a few light greige (grey+beige) paint samples from home depot that afternoon and ultimately decided on Swirling Smoke from Glidden. It is a paint and primer in one, which is great for impatient people like me, and I LOVE this color SO MUCH!!! I got a gallon of it for this project but could have easily used a quart. I’m glad I got the gallon though because I had enough left over for another exciting project I’ll be sharing with you later….
I probably should have sanded before painting but I was lazy and did not. That being said, it is now fully cured and has not chipped at all! I wanted to make sure all of the hardware stayed clean so I removed all of it along with the doors and hinges before painting. I used a 4” foam roller and angled brush to paint everything. It took two coats. One of the things I noted in my instagram stories on @valondesignstudio was that I do not tape when doing glass, I prefer to come back and clean up with a razor blade. Especially when you are dealing with glass like this that bevels. Thats just my personal approach.
The inside I painted the same white that I used on the walls in the dining room because it helps it feel more airy and almost built-in in the room.


How pretty does that hardware look with the new paint?! I also switched out the shelves for 3/4” plywood that I painted in the same white. I think it makes it look much more of the 1920’s era of the house and less 1960’s. I had them cut down for me at Hope Depot so I didn’t have to worry about the mess. If you aren’t aware, they will cut down just about anything for you to the size you need for free!
I’m on the hunt for a great set of hand made ceramic dishes for special occasions that will live in here but for now my sis is letting me store her Mikasa set and I do love the color on the white.

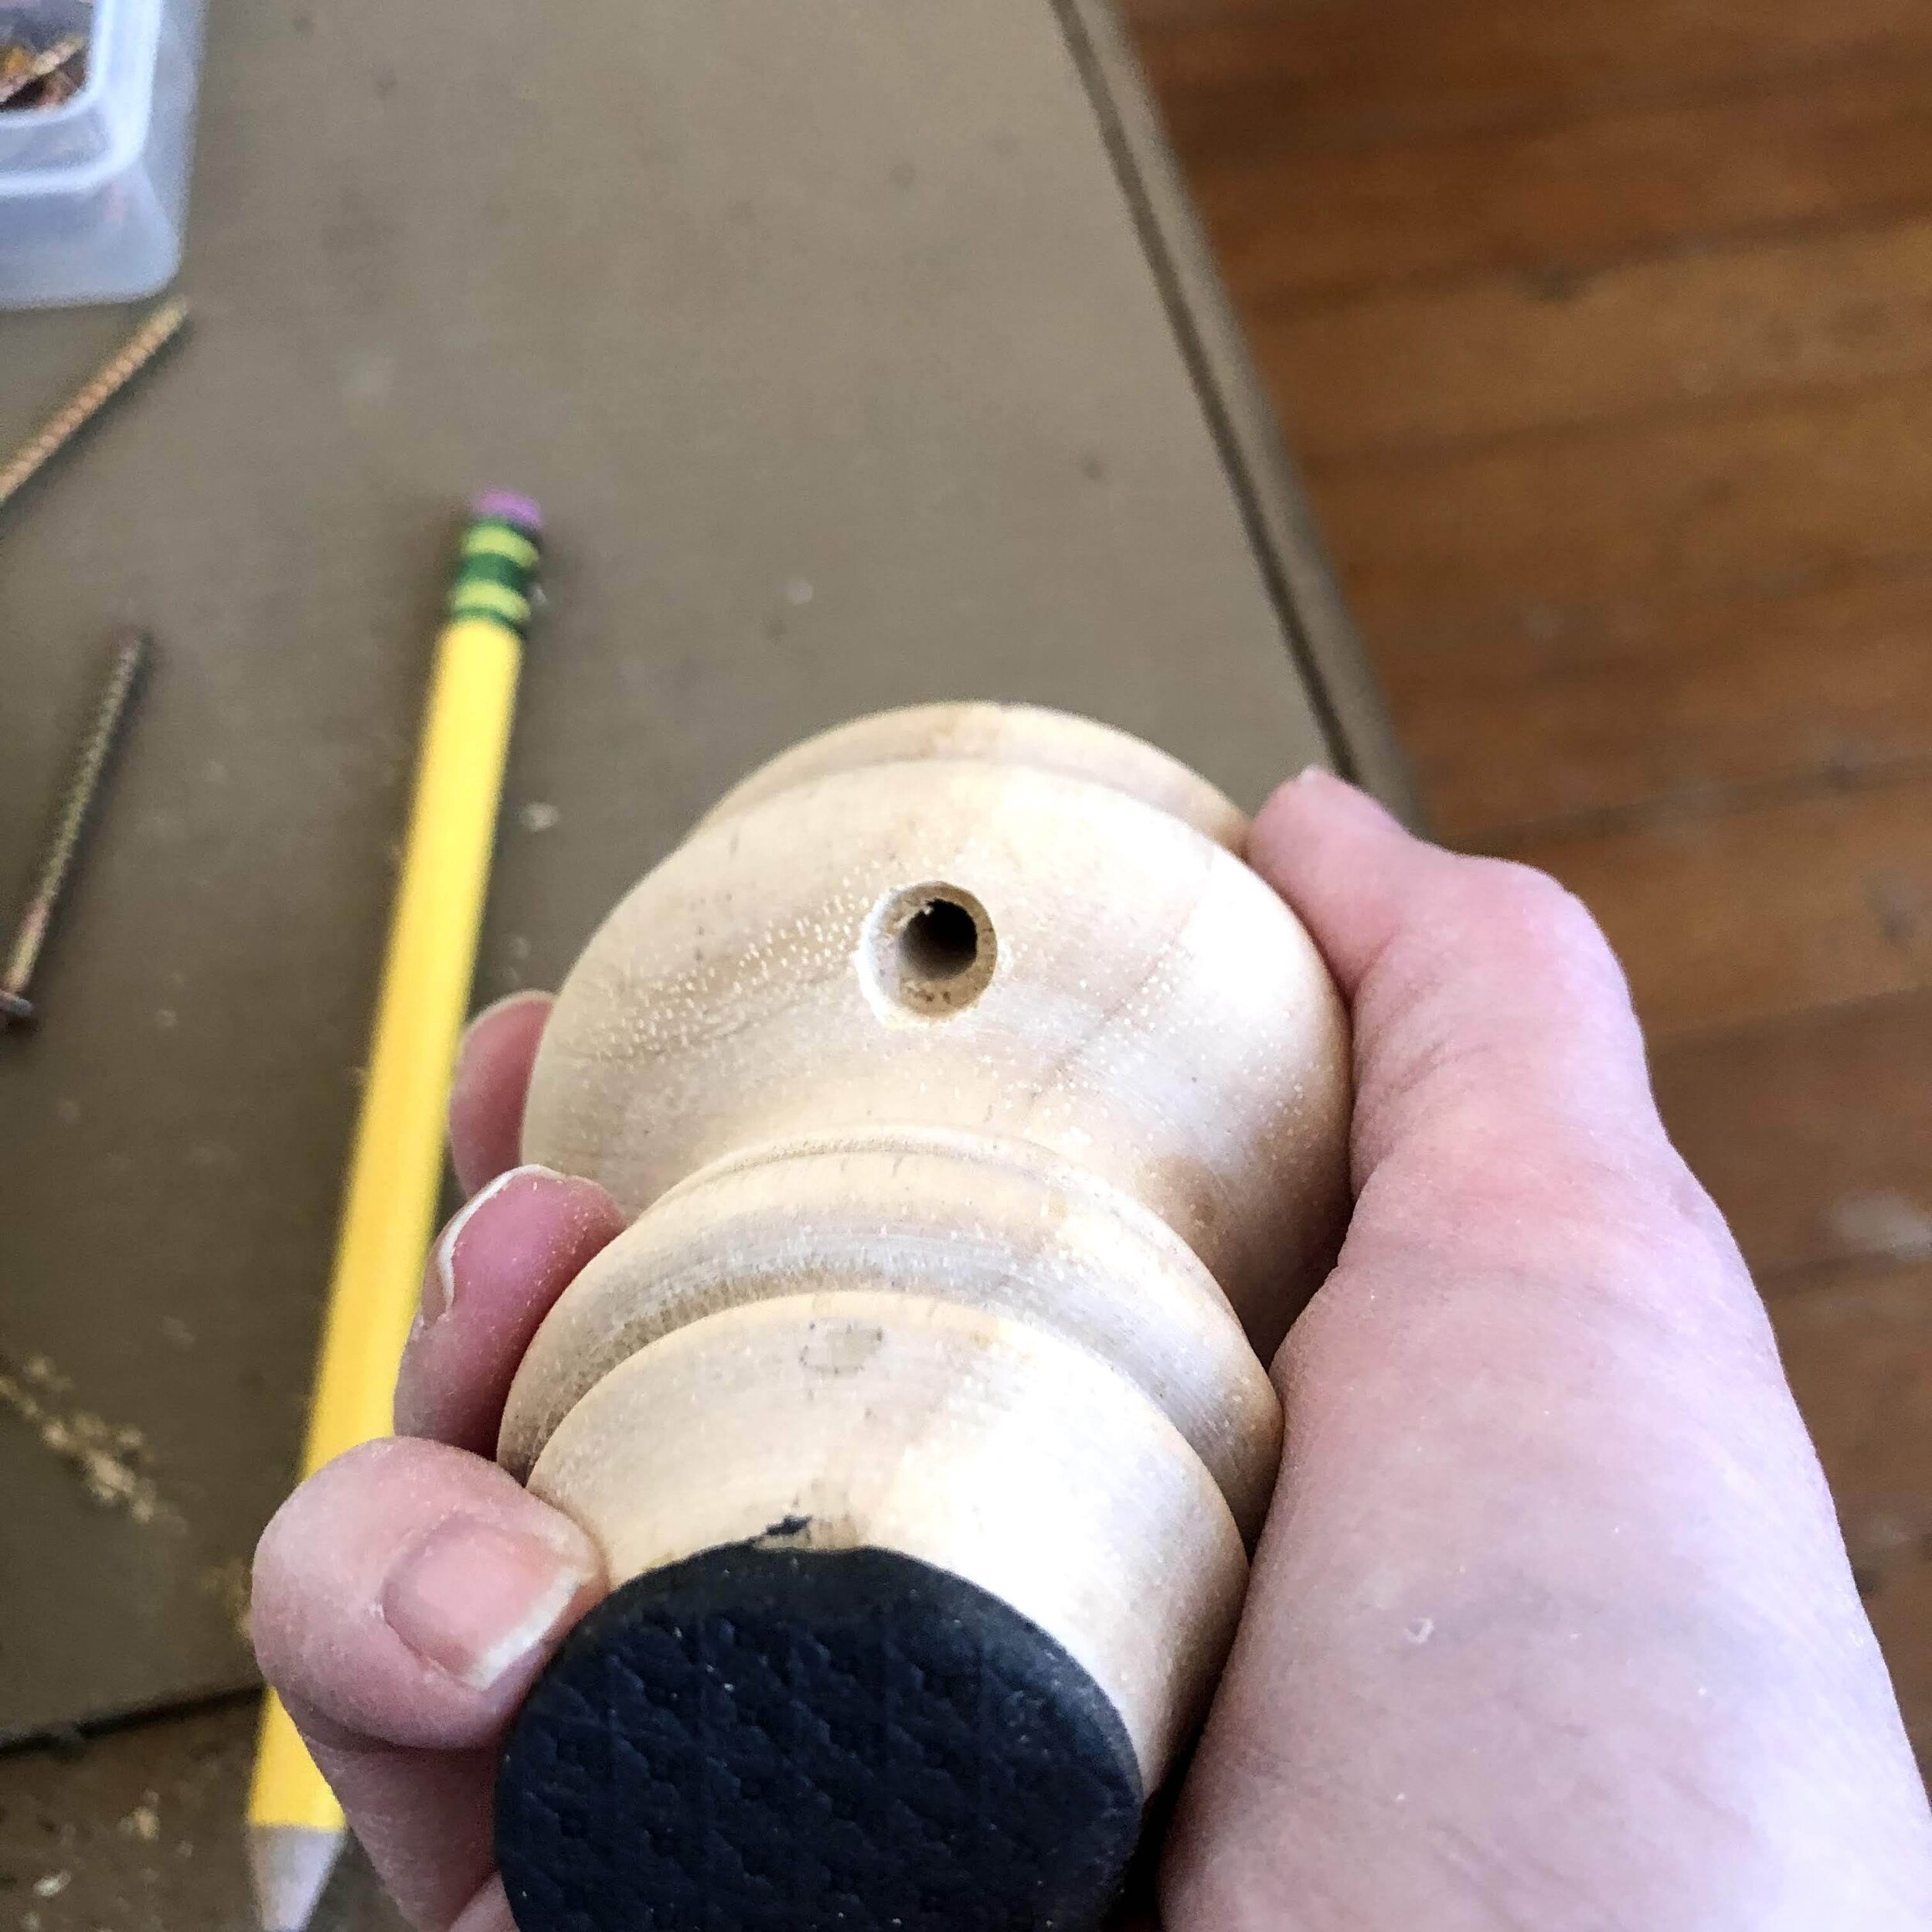
I added these legs to the hutch to give it a little more height and to give it some visual space. Having visibility under the hutch makes it feel lighter and like it takes up less room that it truly does in the room.
To attach them I first removed the small metal footings with a flat head screw driver and then drilled three holes in to each leg being careful to make the hole under the large ridge so that it would be less visible. I counter sank each hole so that the screw head would be hidden and then filled with wood putty and sanded once it was dry. And walla!


So here’s the breakdown…. Cabinet $32.50 + Grey Paint $35.98 + Spindle Legs $17.69 + shelves $8.50 = $94.67!!!
Thanks for taking a look! I’d love to hear your comments and answer any of your questions below and if you’re looking for something specific for your space let me know how I can help.